

Snowflake’s cloud data platform integrates seamlessly with Google Cloud Platform (GCP) to enable scalable data warehousing and analytics. Snowpipe, Snowflake’s automated data ingestion tool, can load data from Google Cloud Storage (GCS) into Snowflake tables in near real-time. In this blog, we’ll walk through connecting GCP to Snowflake using Snowpipe, with data stored in a GCS bucket named snowflake2214 and a folder named myfolder22. We’ll include seven screenshots to illustrate key steps.
Syntax : (for creating strorage integration)
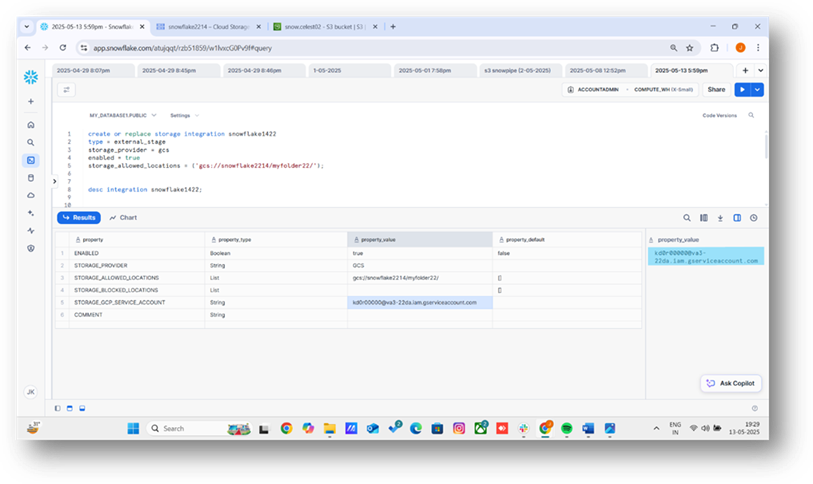
create or replace storage integration snowflake1422 --(integration name)
type = external_stage
storage_provider = gcs
enabled = true
storage_allowed_locations = ('gcs://snowflake2214/myfolder22/'); --(bucket name)
1. Retrieve the GCS service account ID
2. You can see the GCS code by running the below command.

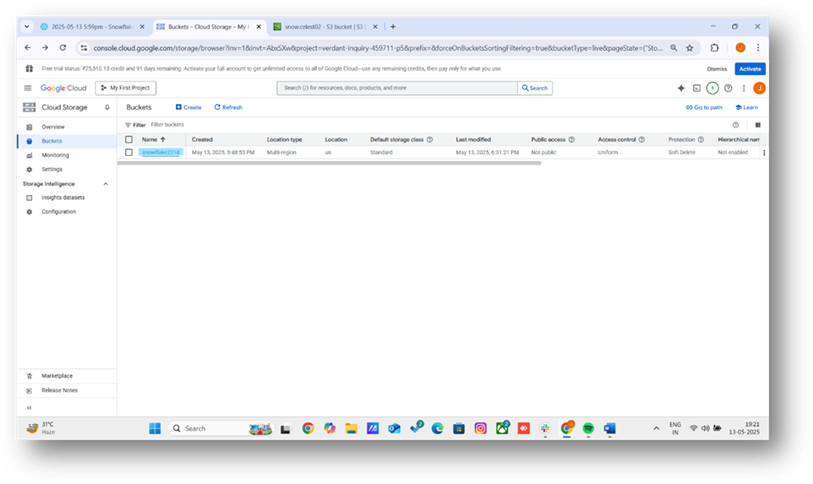
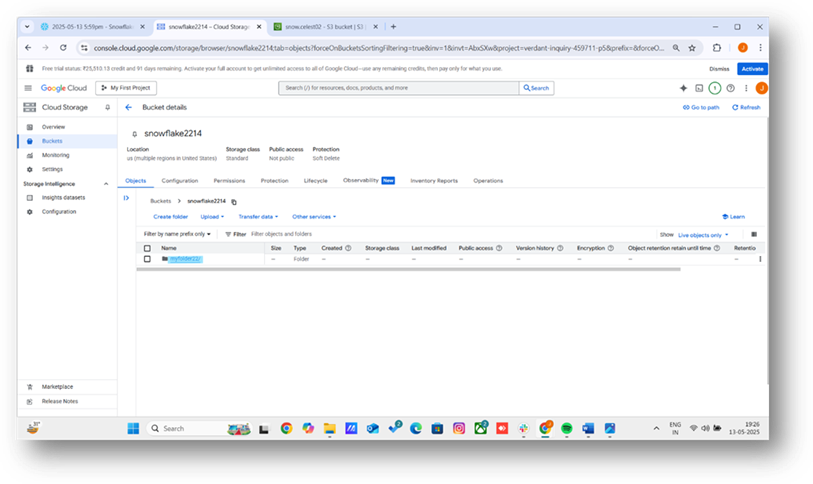
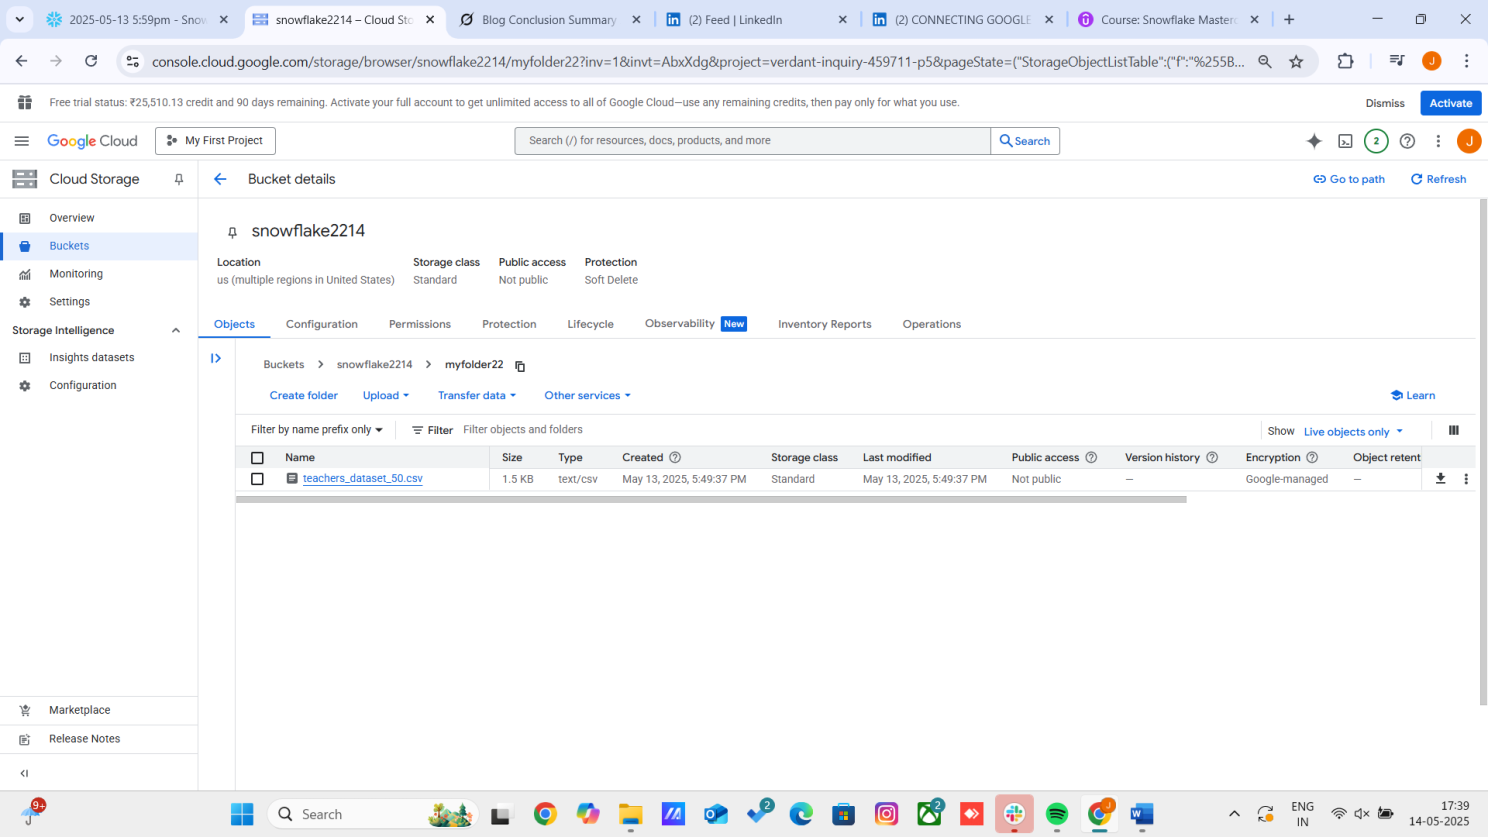
1. In the GCP Console, navigate to Cloud Storage > Buckets > snowflake2214.
2. Go to the Permissions tab and click Add.
3. Add the Snowflake service account from Step 3 as a principal.
4. Assign the role storage admin to allow Snowflake to read files in myfolder22.
5. Save the changes.

1. Create a file format for CSV files:

2. Create an external stage pointing to the GCS folder:

3. Show the stages:

1. Write the command with the identities of your table.
(ex. Teacher_id,name,section,subject…etc)

2. Run the command you’ll get your respective data which is in the google gcp.

In conclusion, loading data from Google GCP to Snowflake using the SELECT command offers a streamlined and efficient approach to data integration. By leveraging Snowflake’s robust data handling capabilities and GCP’s scalable infrastructure, users can seamlessly transfer and transform data for advanced analytics. This method ensures data integrity, optimizes performance, and simplifies workflows. Embracing these tools empowers organizations to unlock valuable insights from their data. For further optimization, consider exploring Snowflake’s automation features and GCP’s data orchestration services.